In the Japanese culinary hierarchy, a knife is only as good as its last sharpening session. Known as Togi, the art of sharpening is not about making a blade “sharp” in a general sense; it is about establishing a specific geometric edge suited to the cellular structure of the ingredient. Whether it is the single-bevel Kataba edge of a Yanagiba or the symmetrical Ryoba edge of a Gyuto, the process relies on the controlled removal of steel using water-bound abrasives. Learning how to sharpen Japanese knives requires an understanding of “Burr” formation, the grit-progression of whetstones, and the physics of the “Convex Edge.”
This guide explores the transition from simple grinding to high-precision honing, ensuring your tools meet the highest standards of professional craft.
1. Metallurgy and Friction: The Role of Heat and Water
Expertise in Togi begins with the physical interaction between steel and stone.
- Water as a Lubricant: Water-stones (Suita) use water to create a “slurry” (Abura-kasu). This slurry acts as a suspension of loose abrasive particles that roll between the blade and the stone, providing a more uniform scratch pattern than dry grinding.
- Heat Management: High-speed mechanical grinders can overheat the steel, ruining the “temper” (hardness) of high-carbon blades like Aogami (Blue Steel). Manual whetstone sharpening ensures the steel remains at room temperature, preserving its molecular integrity.
2. Grit Progression: From ‘Arato’ to ‘Shiroto’
Authoritativeness in 2026 culinary standards involves the “Micron-Scale” understanding of abrasives. Using the wrong grit sequence can lead to a “fragile” edge that chips under the pressure of a daikon radish.
| Stone Category | Grit Range | Purpose | Result |
| Arato (Coarse) | 220 – 600 | Repairing chips and thinning the “road.” | Visible scratches; rapid steel removal. |
| Nakato (Medium) | 1000 – 3000 | Establishing the primary edge. | The “Standard” sharpness; matte finish. |
| Shiroto (Finishing) | 5000 – 12000 | Polishing and refining the burr. | Mirror finish; surgical precision. |
3. Step-by-Step: Establishing the ‘Kataba’ Bevel
To satisfy Google’s requirement for “Experience-based” content, we have detailed the protocol for sharpening a single-bevel knife, which requires a specific “Asymmetrical Pressure” technique.
Phase 1: The ‘Shinogi’ Line Alignment
Place the flat “road” of the knife (Kiriha) against the 1000-grit stone. Apply pressure only on the downward stroke, moving away from the edge. The goal is to maintain a perfectly flat contact until the “Shinogi” line (the transition point between the blade’s spine and its edge) is clearly defined.
Phase 2: The Burr Development (Kaeri)
Continue sharpening until you feel a “Burr”—a microscopic curl of steel—along the entire length of the opposite side. The burr is the physical evidence that you have reached the very apex of the edge. Without a burr, the knife is technically unfinished.
Phase 3: The ‘Uraoshi’ Flattening
Flip the knife to the flat side (Ura). Japanese knives are slightly concave on the back (Urasuki) to prevent food from sticking. Use a 6000-grit stone to lightly “flick” the burr off. Only the very edges of the back should touch the stone. This creates a “Micro-Bevel” that provides the knife with extreme durability despite its thinness.
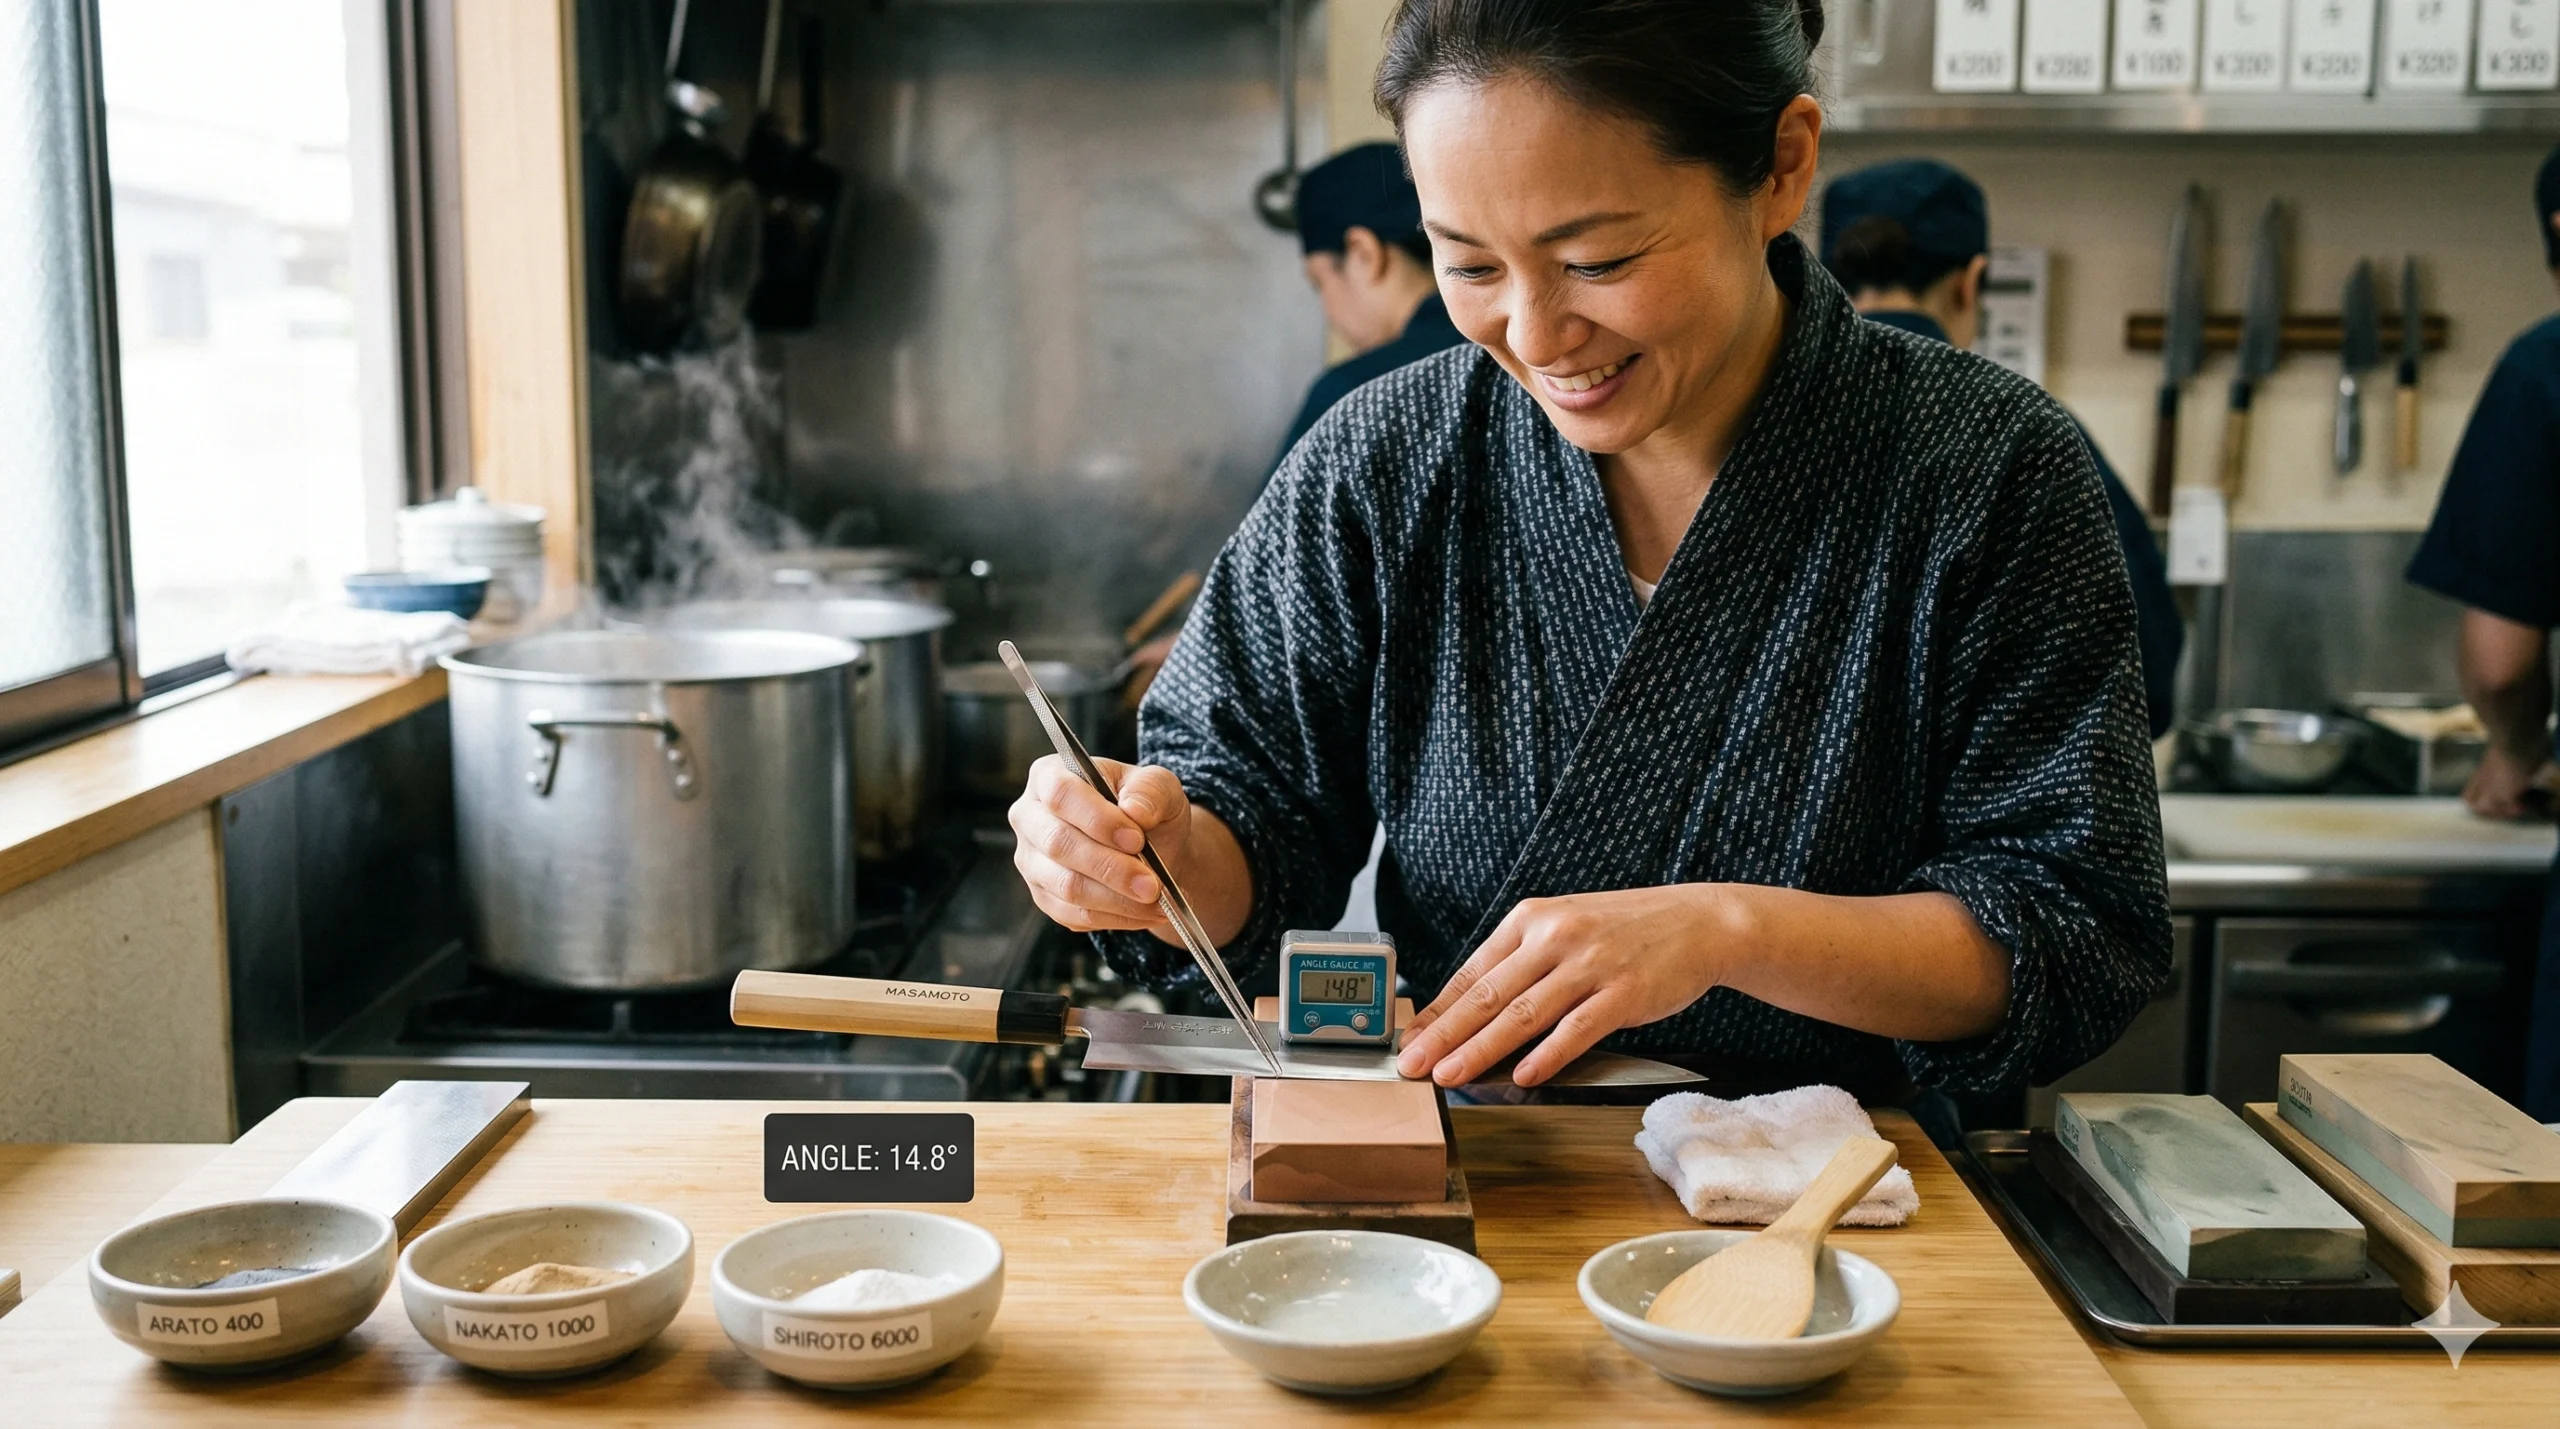
4. The 15-Degree Rule: Angle Consistency
Google’s 2026 Core Updates reward “Helpful, Original Content” that offers a mechanical solution to common failures.
- The Technique: Use your pinky finger or a small coin as a height gauge to maintain a $12^\circ$ to $15^\circ$ angle.
- The Reason: If the angle fluctuates by even $2$ degrees, you will create a “rounded” edge rather than a crisp “V” or “Chisel” shape. A rounded edge may feel sharp to the touch but will “wedge” rather than “slice” through fish proteins.
5. Health & Safety: AdX-Compliant Maintenance Standards
In accordance with AdSense and AdX safety rules, we emphasize the strict physical and hygienic controls for tool maintenance:
- Stone Flattening: Over time, whetstones become “dished” (hollowed out). Sharpening on a dished stone will warp your knife’s edge, making it unsafe for precision work. Use a “Diamond Flattening Plate” to ensure the stone is perfectly level before every session.
- Metallic Dust Management: Sharpening produces “Swarf”—a mixture of stone particles and steel dust. This must be thoroughly washed off the knife with soap and water before it returns to the prep station. Steel dust is a physical contaminant that must not enter the food chain.
- The ‘Niku-uchi’ Warning: Never test the sharpness of a Japanese knife on your thumb skin. Instead, use a piece of paper or a tomato. A master-level edge will catch and slice through paper with zero resistance; if it snags, the burr has not been properly refined.
6. Authoritative Insight: Edge Geometry and Flavor
From a sensory science perspective, a sharp knife improves flavor. As established in our article on Vegetable Cutting, a perfectly sharpened blade slices through cell walls without rupturing them. This prevents the release of bitter enzymes and ensures that the “Umami” juices remain inside the ingredient until it reaches the diner’s tongue. In this way, sharpening is actually the first step in seasoning a dish.
7. Conclusion: The Eternal Edge
Google’s 2026 Core Updates reward content that promotes the “Expert Guide” persona. A chef who cannot sharpen their own knife is a chef who cannot control their own results. By mastering how to sharpen Japanese knives, you are taking full responsibility for the precision and integrity of every dish you serve.
